By GamGem ResearchLast updated 20 Aug 2026 · 00:00

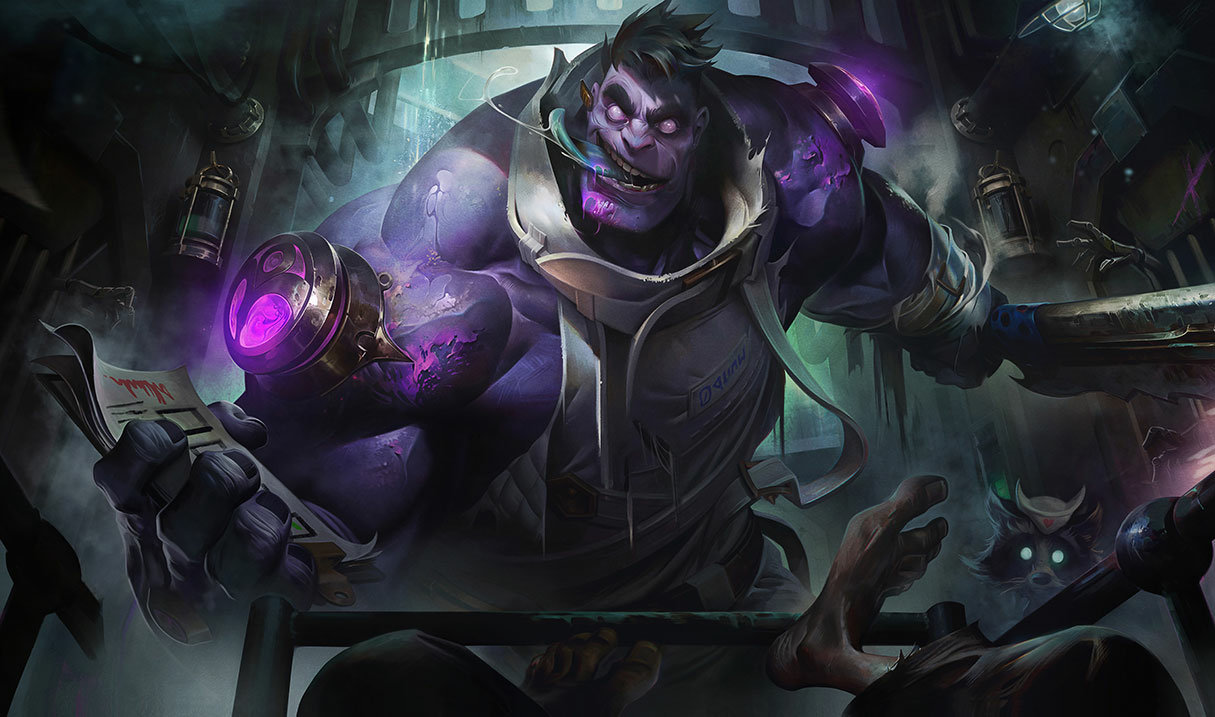
Dr. Mundo
the Madman of Zaun
TankFighter
League of LegendsPatch 26.16TopRanked Solo/DuoEmerald+NA15,883 gamesSample data
Role snapshot (Top)
- 46.5%
- Win Rate
- 3.1%
- Pick Rate
- 22.6%
- Ban Rate
15,883
Games
Moderate
Confidence
Matchup map (Top) — level 1–18
Conditional build matrix
| vs AP Burst | vs AD Assassins | vs Tanks | vs Sustain | |
|---|---|---|---|---|
| Mythic / Core | ||||
| Core 2 | ||||
| Core 3 | ||||
| Boots | ||||
| Situational |
Popular build
7,306 games46.9%Win Rate
Reliable build
5,241 games45.6%Win Rate
High observed win rate
1,906 games49.0%Win Rate
Runes
Primary: Resolve
Grasp of the Undying
Demolish
Conditioning
Overgrowth
Secondary: Domination
Taste of Blood
Sixth Sense
Shards
+9 Adaptive Force
+9 Adaptive Force
+10-180 Health (based on level)
Skill order
| Q | 1 | 2 | 3 | 4 | 5 | 6 | 7 | 8 | 9 | 10 | 11 | 12 | 13 | 14 | 15 | 16 | 17 | 18 |
|---|---|---|---|---|---|---|---|---|---|---|---|---|---|---|---|---|---|---|
| W | 1 | 2 | 3 | 4 | 5 | 6 | 7 | 8 | 9 | 10 | 11 | 12 | 13 | 14 | 15 | 16 | 17 | 18 |
| E | 1 | 2 | 3 | 4 | 5 | 6 | 7 | 8 | 9 | 10 | 11 | 12 | 13 | 14 | 15 | 16 | 17 | 18 |
| R | 1 | 2 | 3 | 4 | 5 | 6 | 7 | 8 | 9 | 10 | 11 | 12 | 13 | 14 | 15 | 16 | 17 | 18 |
Ability details

Goes Where He Pleases
Dr. Mundo resists the first Immobilizing effect that hits him, instead losing Health and dropping a chemical cannister nearby. Dr. Mundo can pick it up by walking over it, restoring Health and reducing this Ability's Cooldown.Dr. Mundo also has significantly increased Health regeneration.
Passive — never cast

Infected Bonesaw
Dr. Mundo throws an infected bonesaw, dealing damage to the first enemy hit based on their current health and slowing them.
Cooldown 4sRange 975

Heart Zapper
Dr. Mundo electrocutes himself, dealing persistent damage to nearby enemies and storing a portion of damage he takes. At the end of the duration or on Recast, Dr. Mundo deals a burst of damage to nearby enemies. If the burst hit an enemy, he heals a percentage of the stored damage.
Cooldown 17/16.5/16/15.5/15sRange 325

Blunt Force Trauma
Passive - Dr. Mundo gains bonus Attack Damage, increasing based on his max Health.Active - Dr. Mundo slams his “medical” bag into an enemy, dealing additional damage based on his missing Health. If the enemy dies they are swatted away, dealing damage to enemies they pass through.
Cooldown 9/8.25/7.5/6.75/6sRange 0

Maximum Dosage
Dr. Mundo pumps himself with chemicals, instantly healing a percent of his missing Health. He then gains Move Speed and regenerates a portion of his maximum Health over a long duration.
Cooldown 120sRange 20
Scaling — level 1–18
Dr. MundoTop average
1918
1918
1918
Counter plan — how to beat Dr. Mundo
Build percentage damage — flat penetration falls off against the stats it stacks
Avoid extended fights — its sustain grows with every trade it survives
Punish the cooldown — Dr. Mundo is exposed while its rotation is down
Ward the flank — vision is what turns its best opening into a worse one
Respect the spike — Riot rates the kit 5/10, so a practised player gets more out of it than the average
ARAM performance
- 49.4%
- Win Rate ▼ 0.4%
- 7.1%
- Pick Rate ▼ 2.0%
- 8.7%
- Ban Rate ▼ 1.9%
- Damage dealt
- 95.7%
- Damage taken
- 104.4%
- Healing
- 109.9%
- Shielding
- 107.7%
- Ability Haste
- +12
Best ARAM build
Patch timeline
We hold the rates, not the balance log. What actually changed each patch is in Riot’s own notes.
- 26.16Live now+0.2
- 26.14Sample win rate across this patch+0.8
- 26.11Sample win rate across this patch+0.8
- 26.08Sample win rate across this patch-0.8
- 26.05Sample win rate across this patch-0.3
Share cheat sheet
Methodology
- Data window
- 512,340 games on patch 26.16, Ranked Solo/Duo, NA. Last refreshed 20 Aug 2026.
- Rank aggregation
- Emerald+ and above, pooled. Splitting further leaves samples too small to separate a real effect from noise.
- Role assignment
- A champion is filed under the lanes it actually plays, not the one class it belongs to — which is why several appear in two.

- Counters
- A matchup, not a tier gap: how this champion does into that one specifically, over that pairing’s own games.

- Minimum sample
- The confidence indicator beside every rate is driven by how much of the window this champion appears in. A low reading means read the figure loosely, not that it is wrong.
- Why a build is not a cause
- The best-scoring build is the one the best-placed players happened to take. Correlation is what a rate can show; it is not evidence that buying those items caused the wins.
- Where the numbers come from
- Names, classes, lanes, abilities, items and runes are Riot Data Dragon. Win, pick and ban rates are derived samples — Riot publishes none of them, and nothing on this page presents one as measured.